
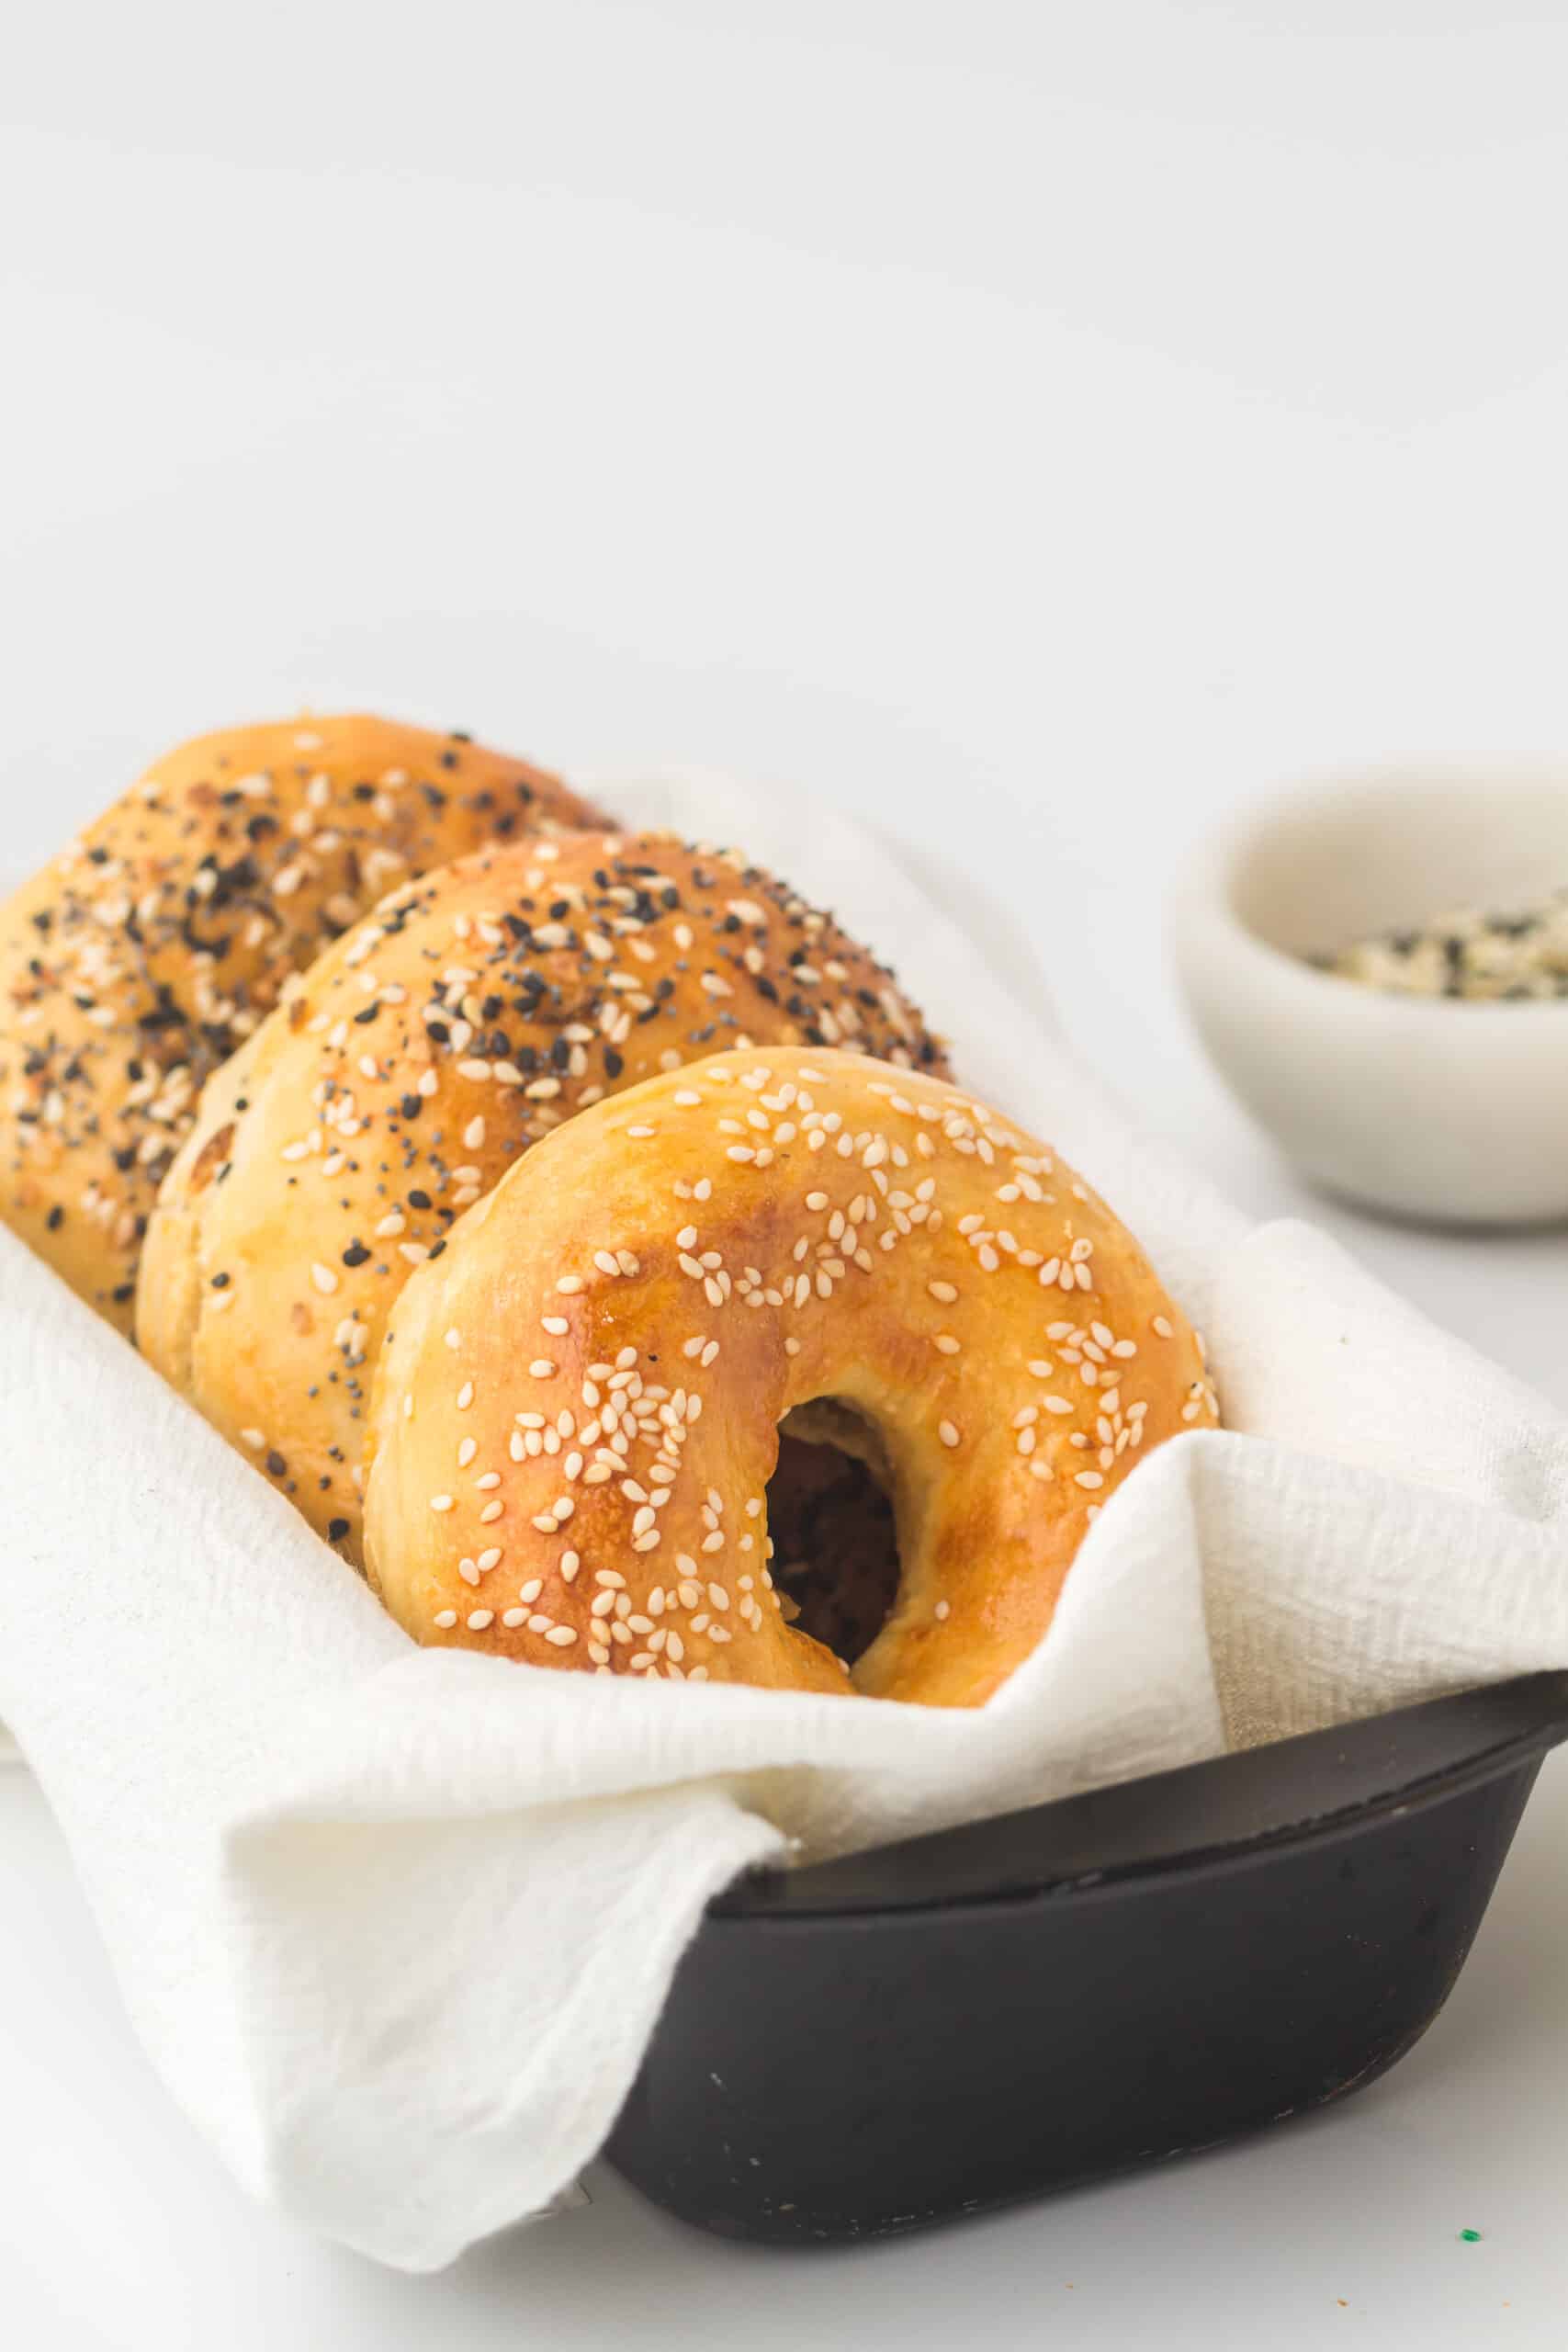
Can you guess what food gets consumed very fast in my house!?! If you guessed bagels, then you are spot on. Bagels are a delicious and convenient snack that everyone in the family loves. But there’s one problem: cooking them can be very time consuming and messy. Also buy them can get pricey – we are a family of 4 and a packet of 5 bagels just doesnt cut it for the week!
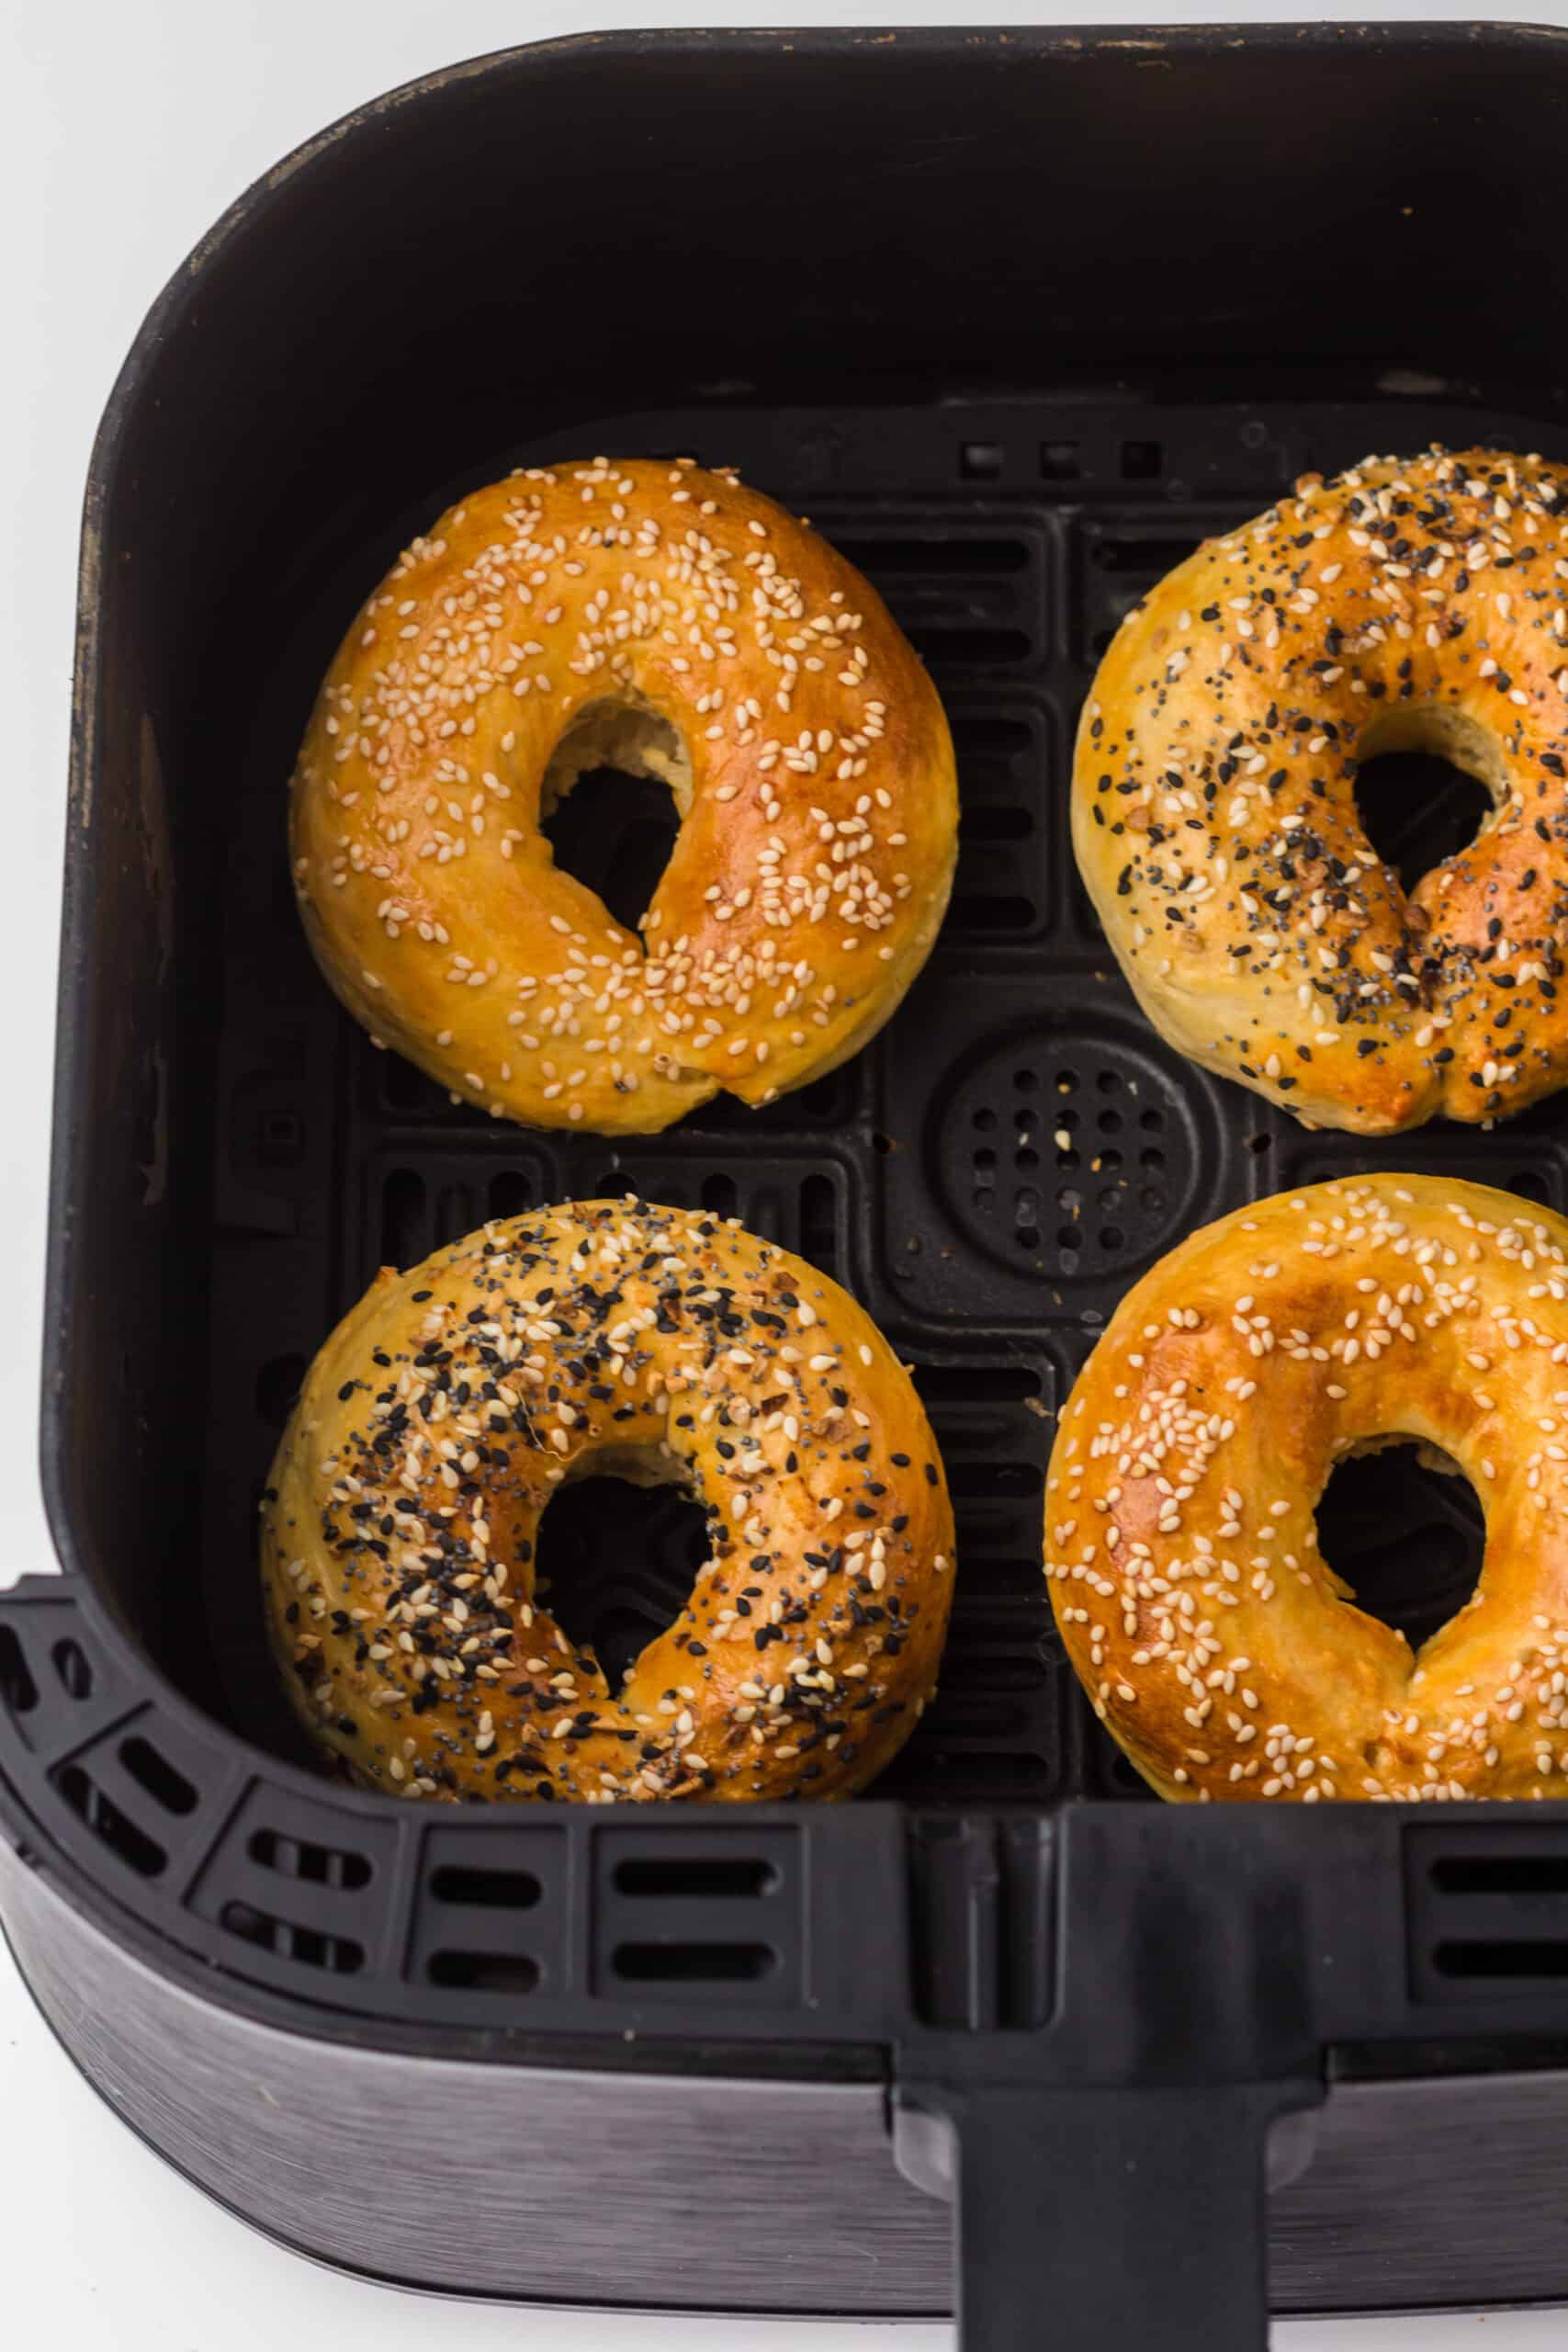
That’s why having an air fryer is so useful for making delicious, crunchy bagels in an instant! The result will be a perfectly golden-browned bagel with a light crispiness that tastes just like it came from the bakery! In this blog post, I’m going to show you just how easy it is to make air fryer bagels using an air fryer.
Ingredients
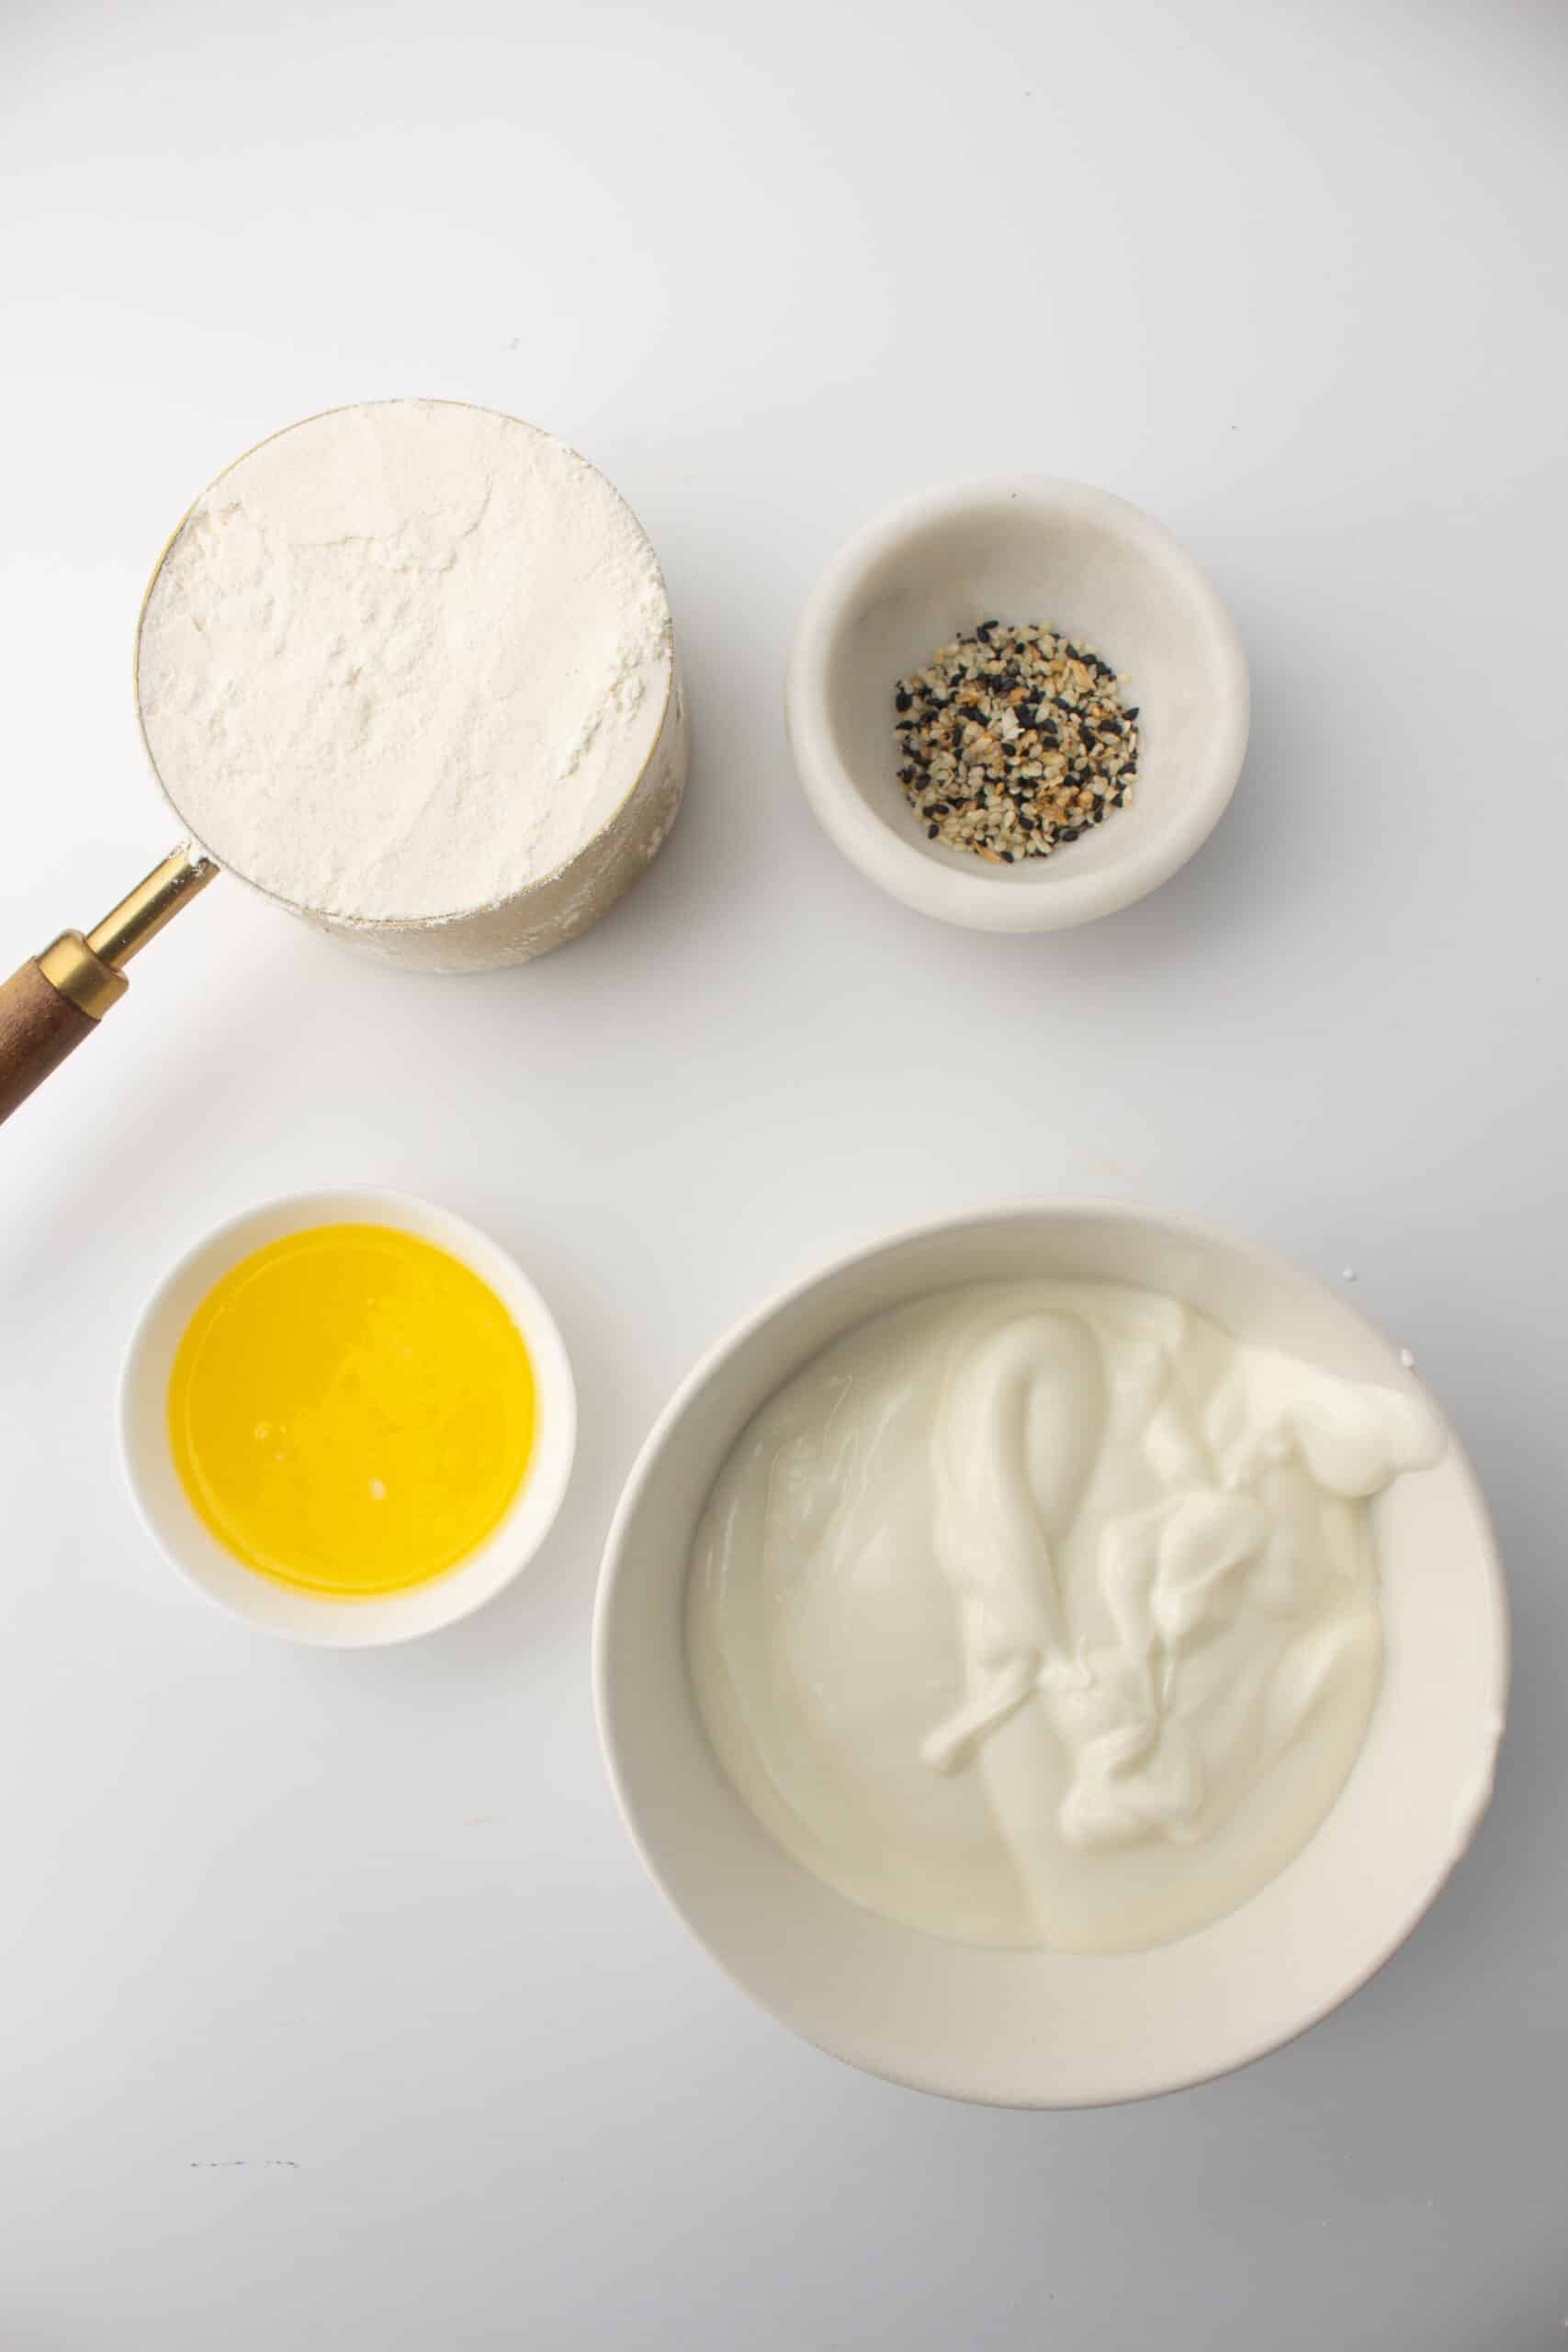
1 ¾ cups of self-raising flour
1 cup of plain Greek yogurt
2 Tablespoons melted butter/ 1 Egg
optional: (everything bagel seasoning)
Tools:
Silicon donut tray (4 holes)
Instructions
Preheat your air fryer to 350°F.
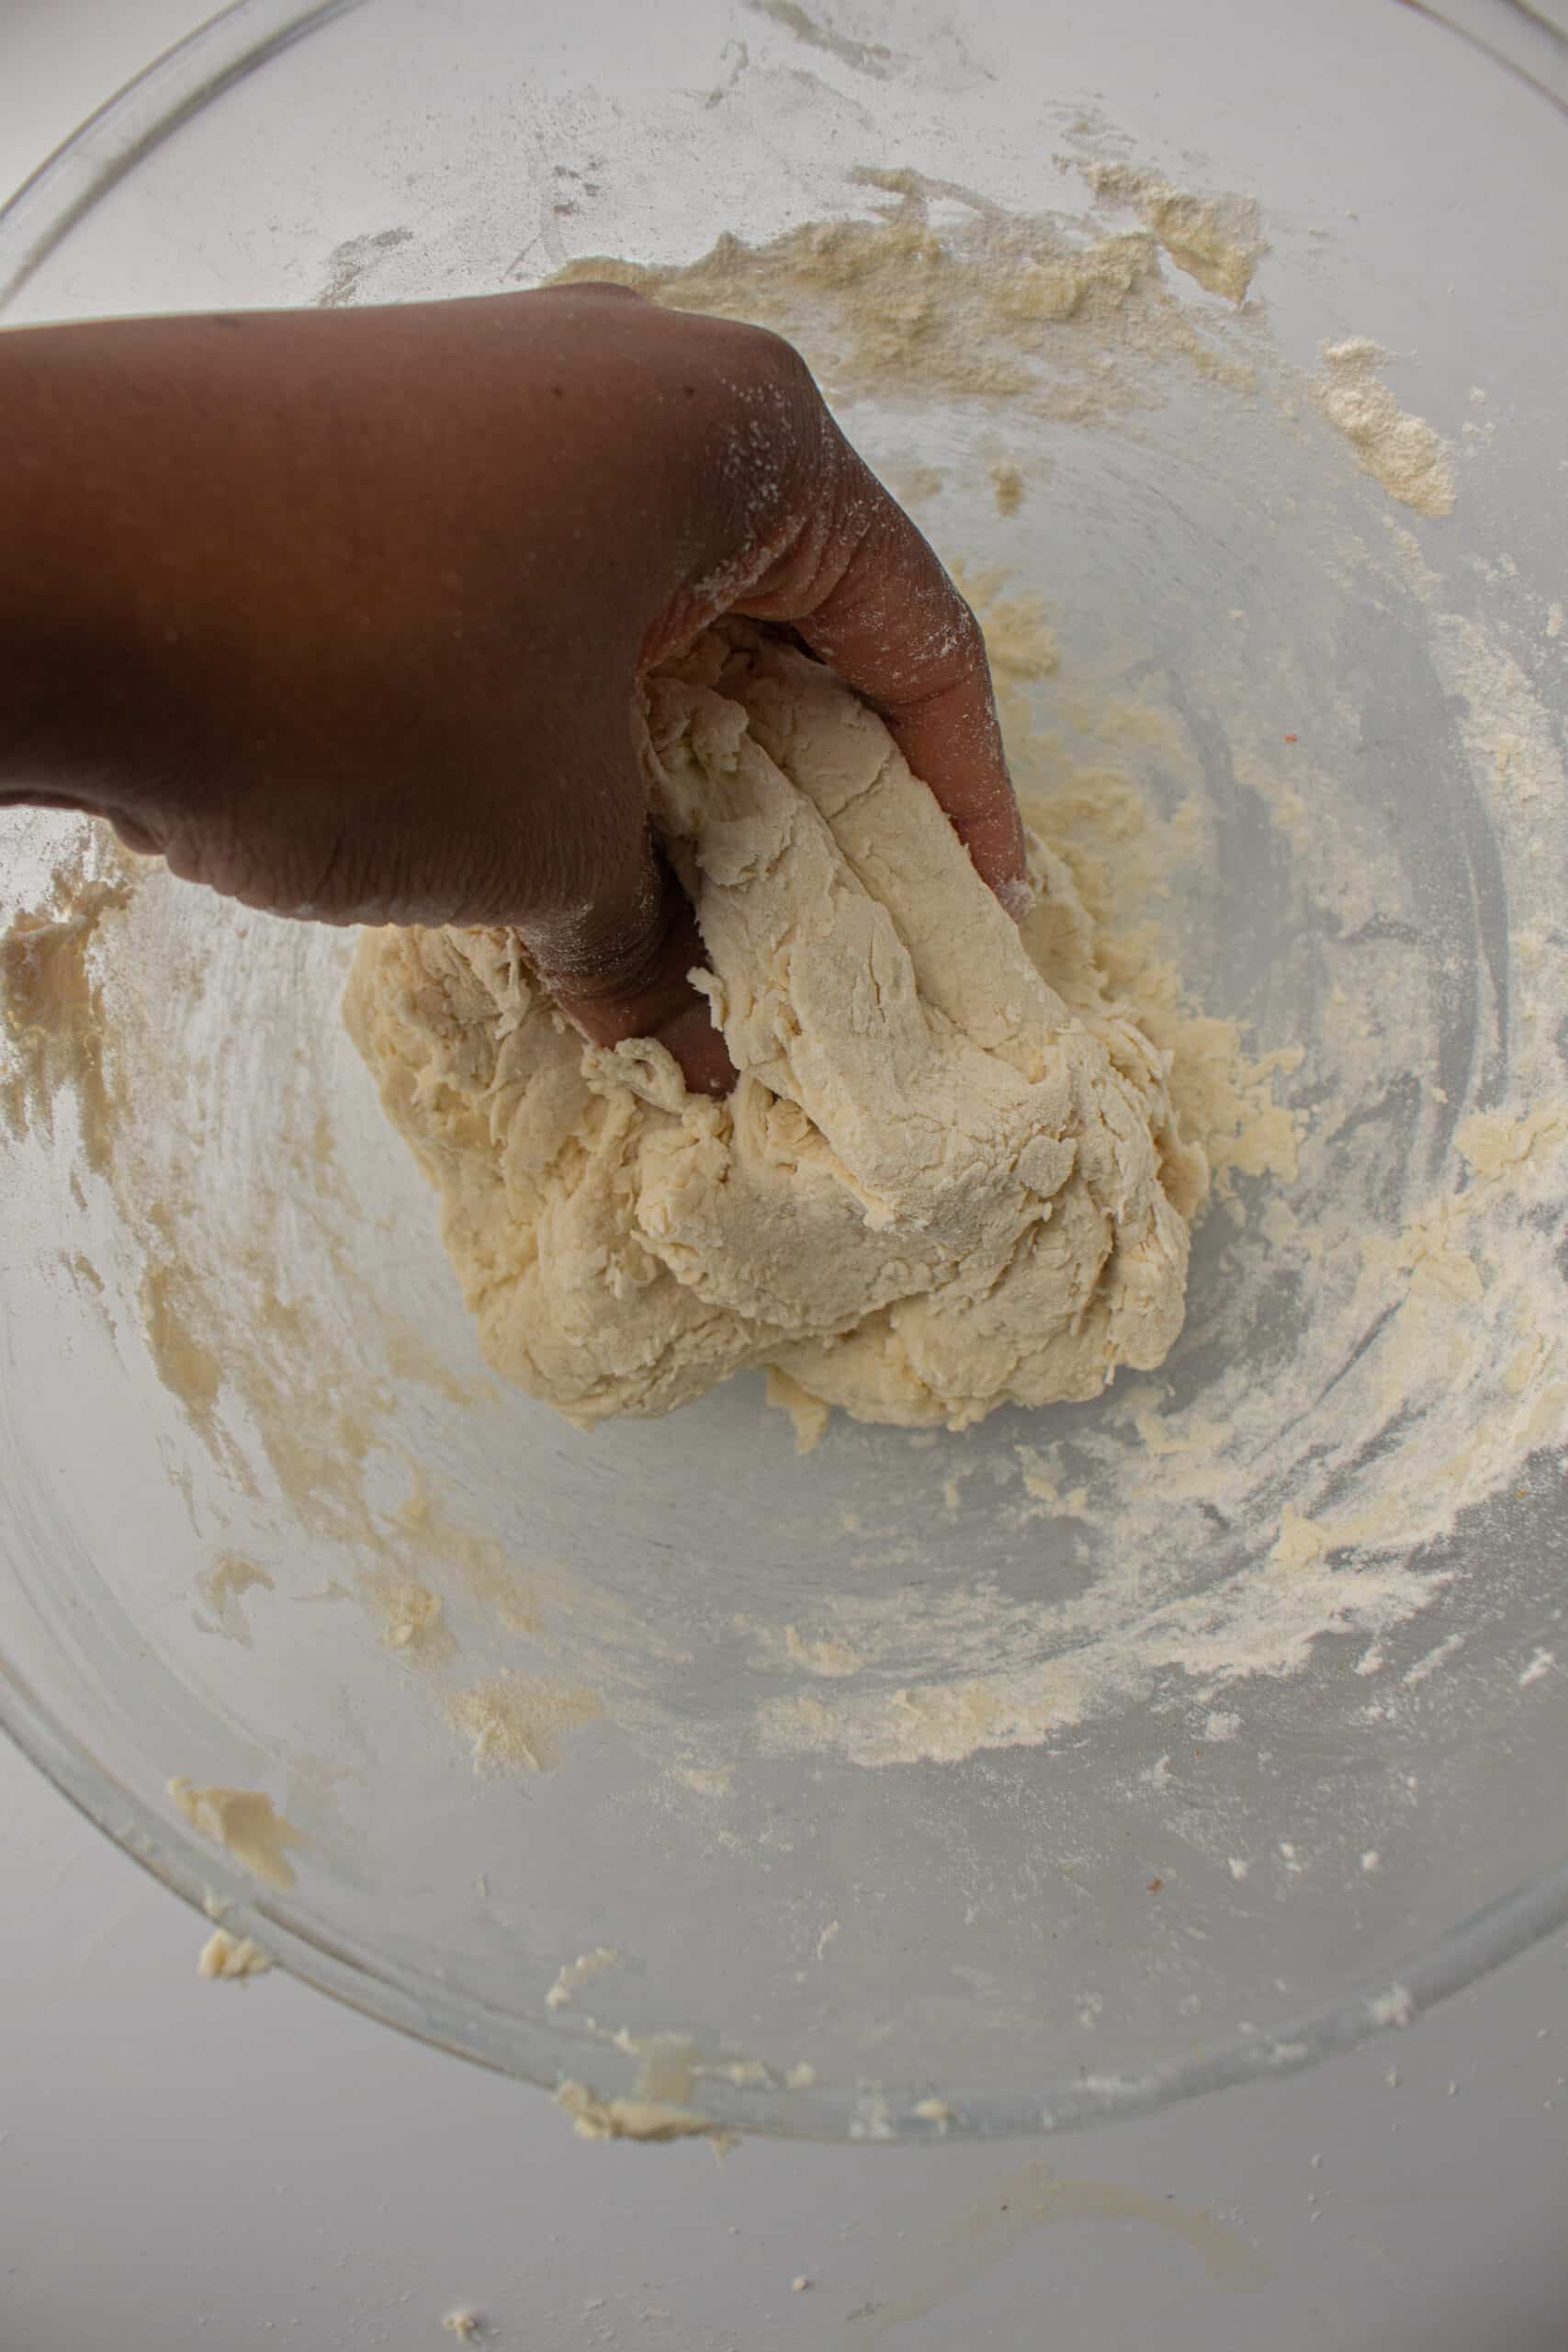
In a mixing bowl, mix together the self-raising flour and Greek yogurt until it forms a dough. It should be soft but not sticky.
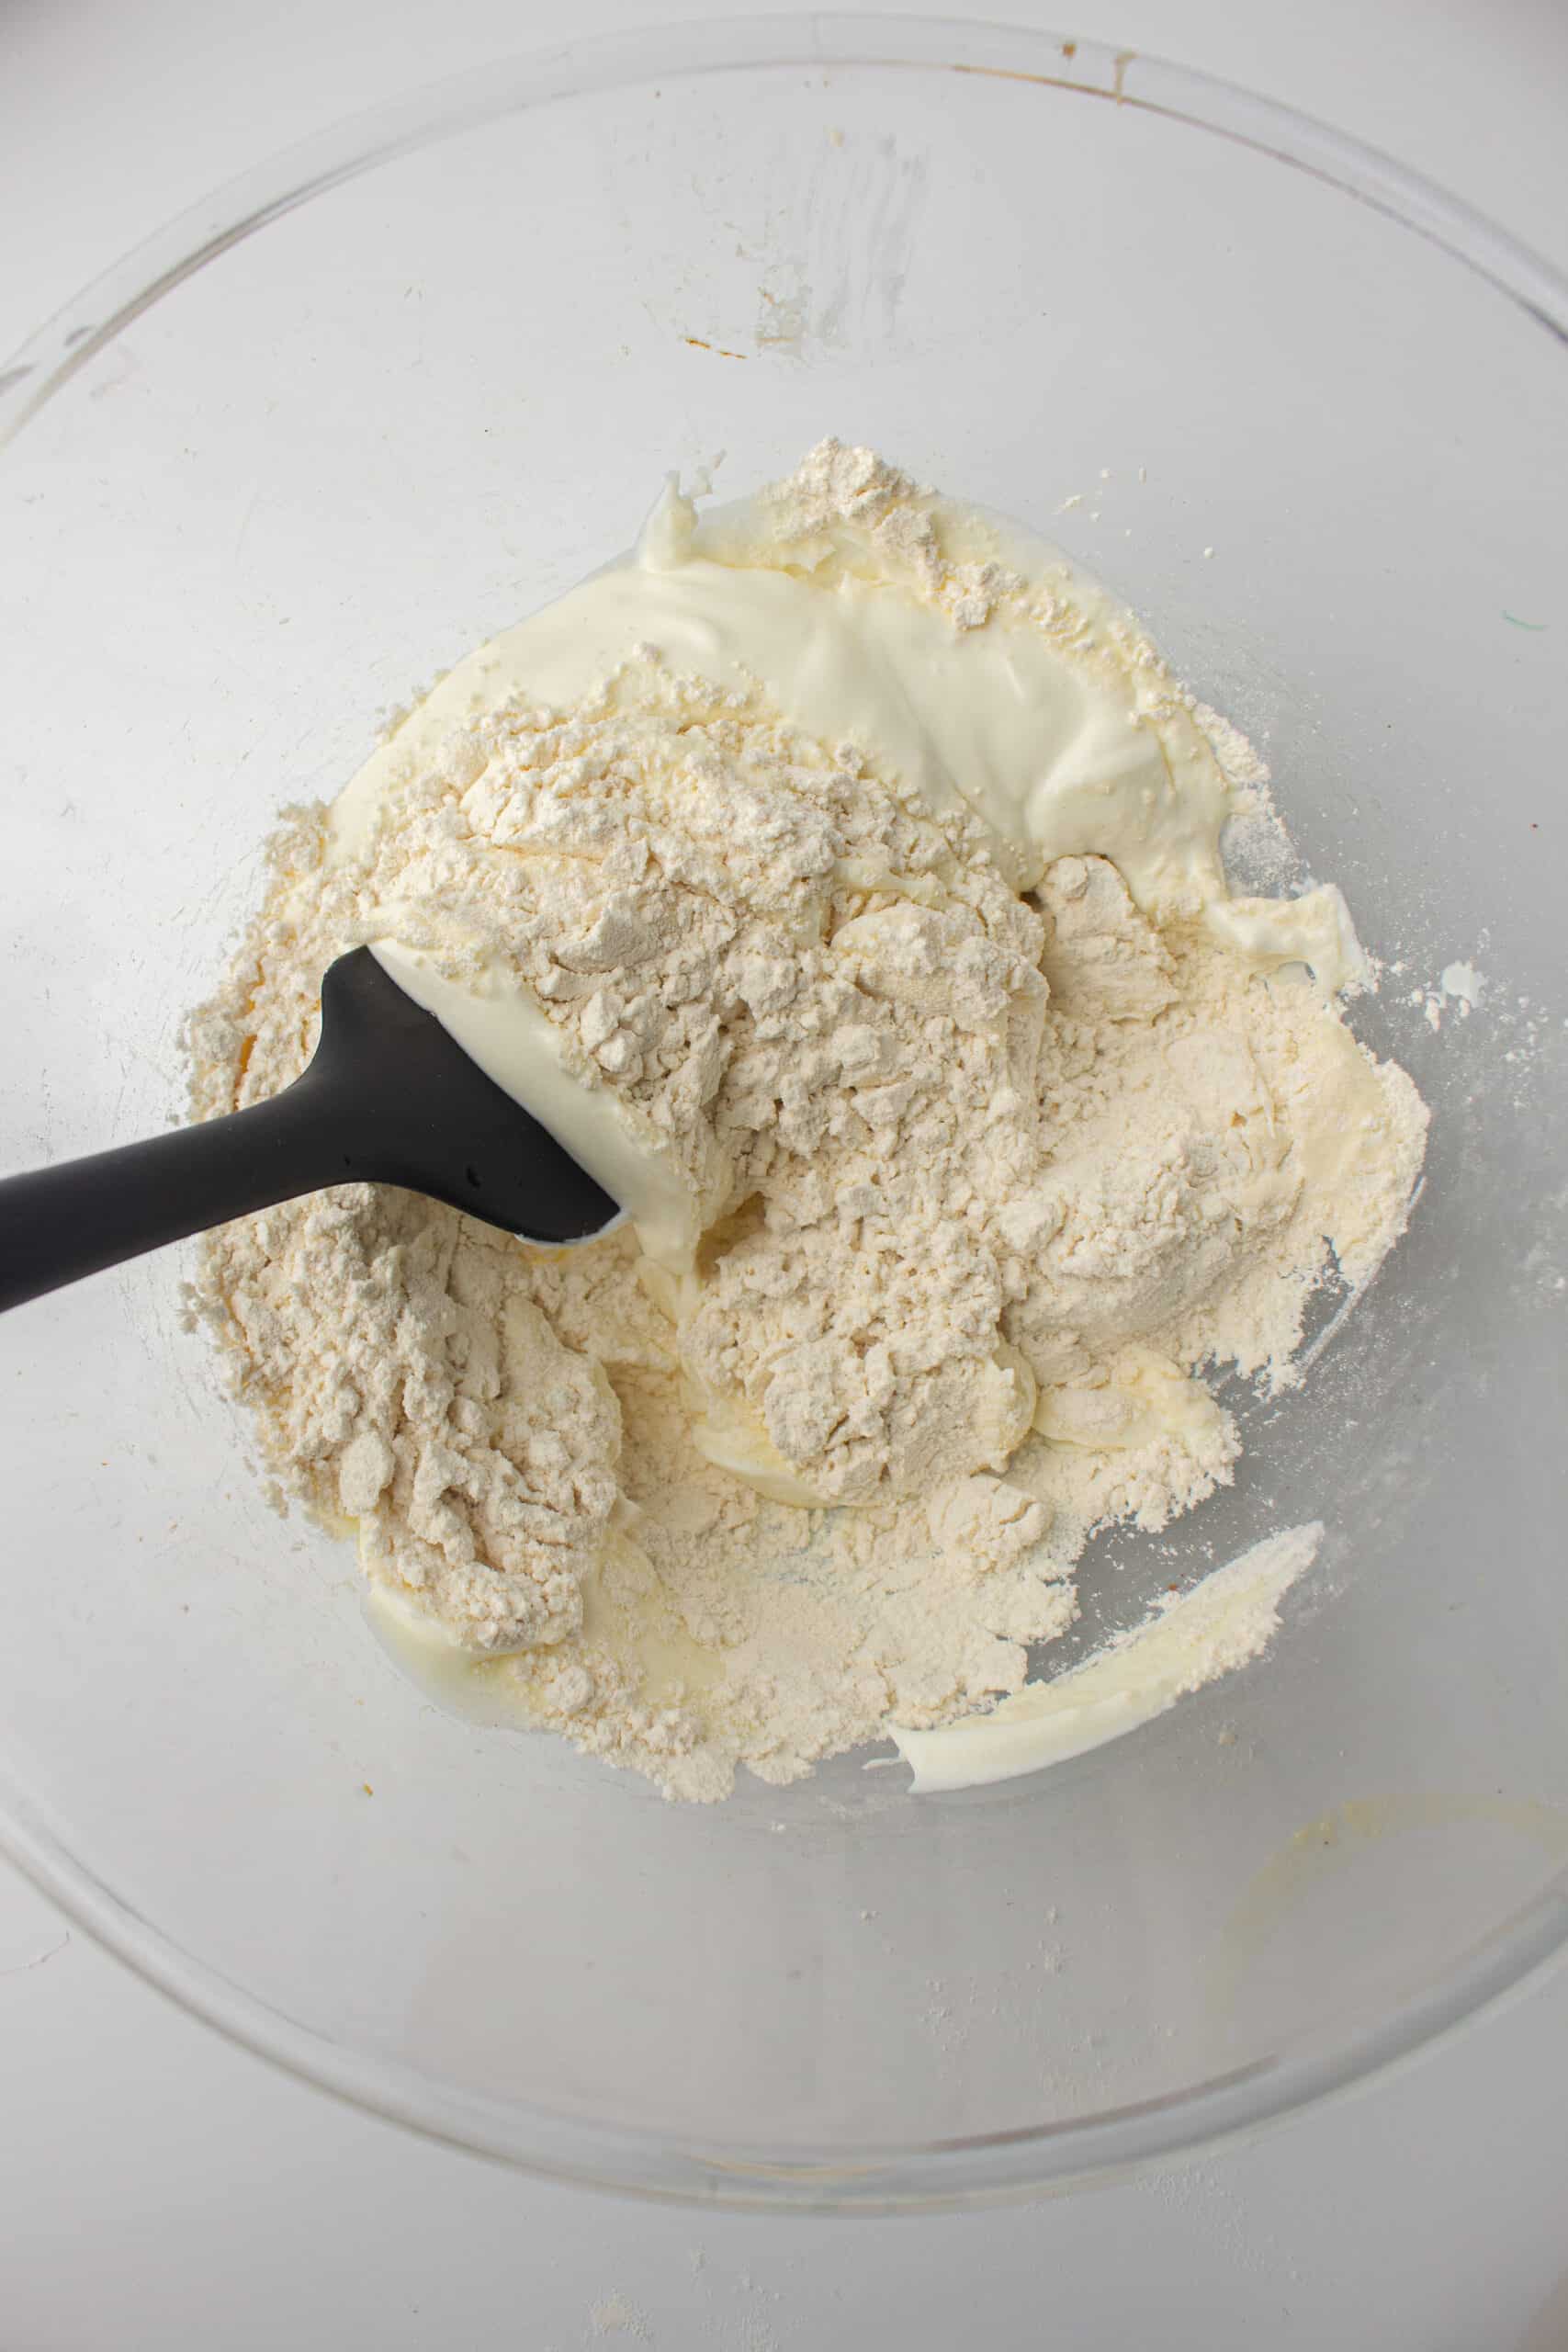
If the dough is too dry, add 1 teaspoon of water at a time until you have reached your desired consistency. If the dough is too wet, add some more flour.
Knead the dough lightly on a floured surface for 2 minutes and form into 4 balls.
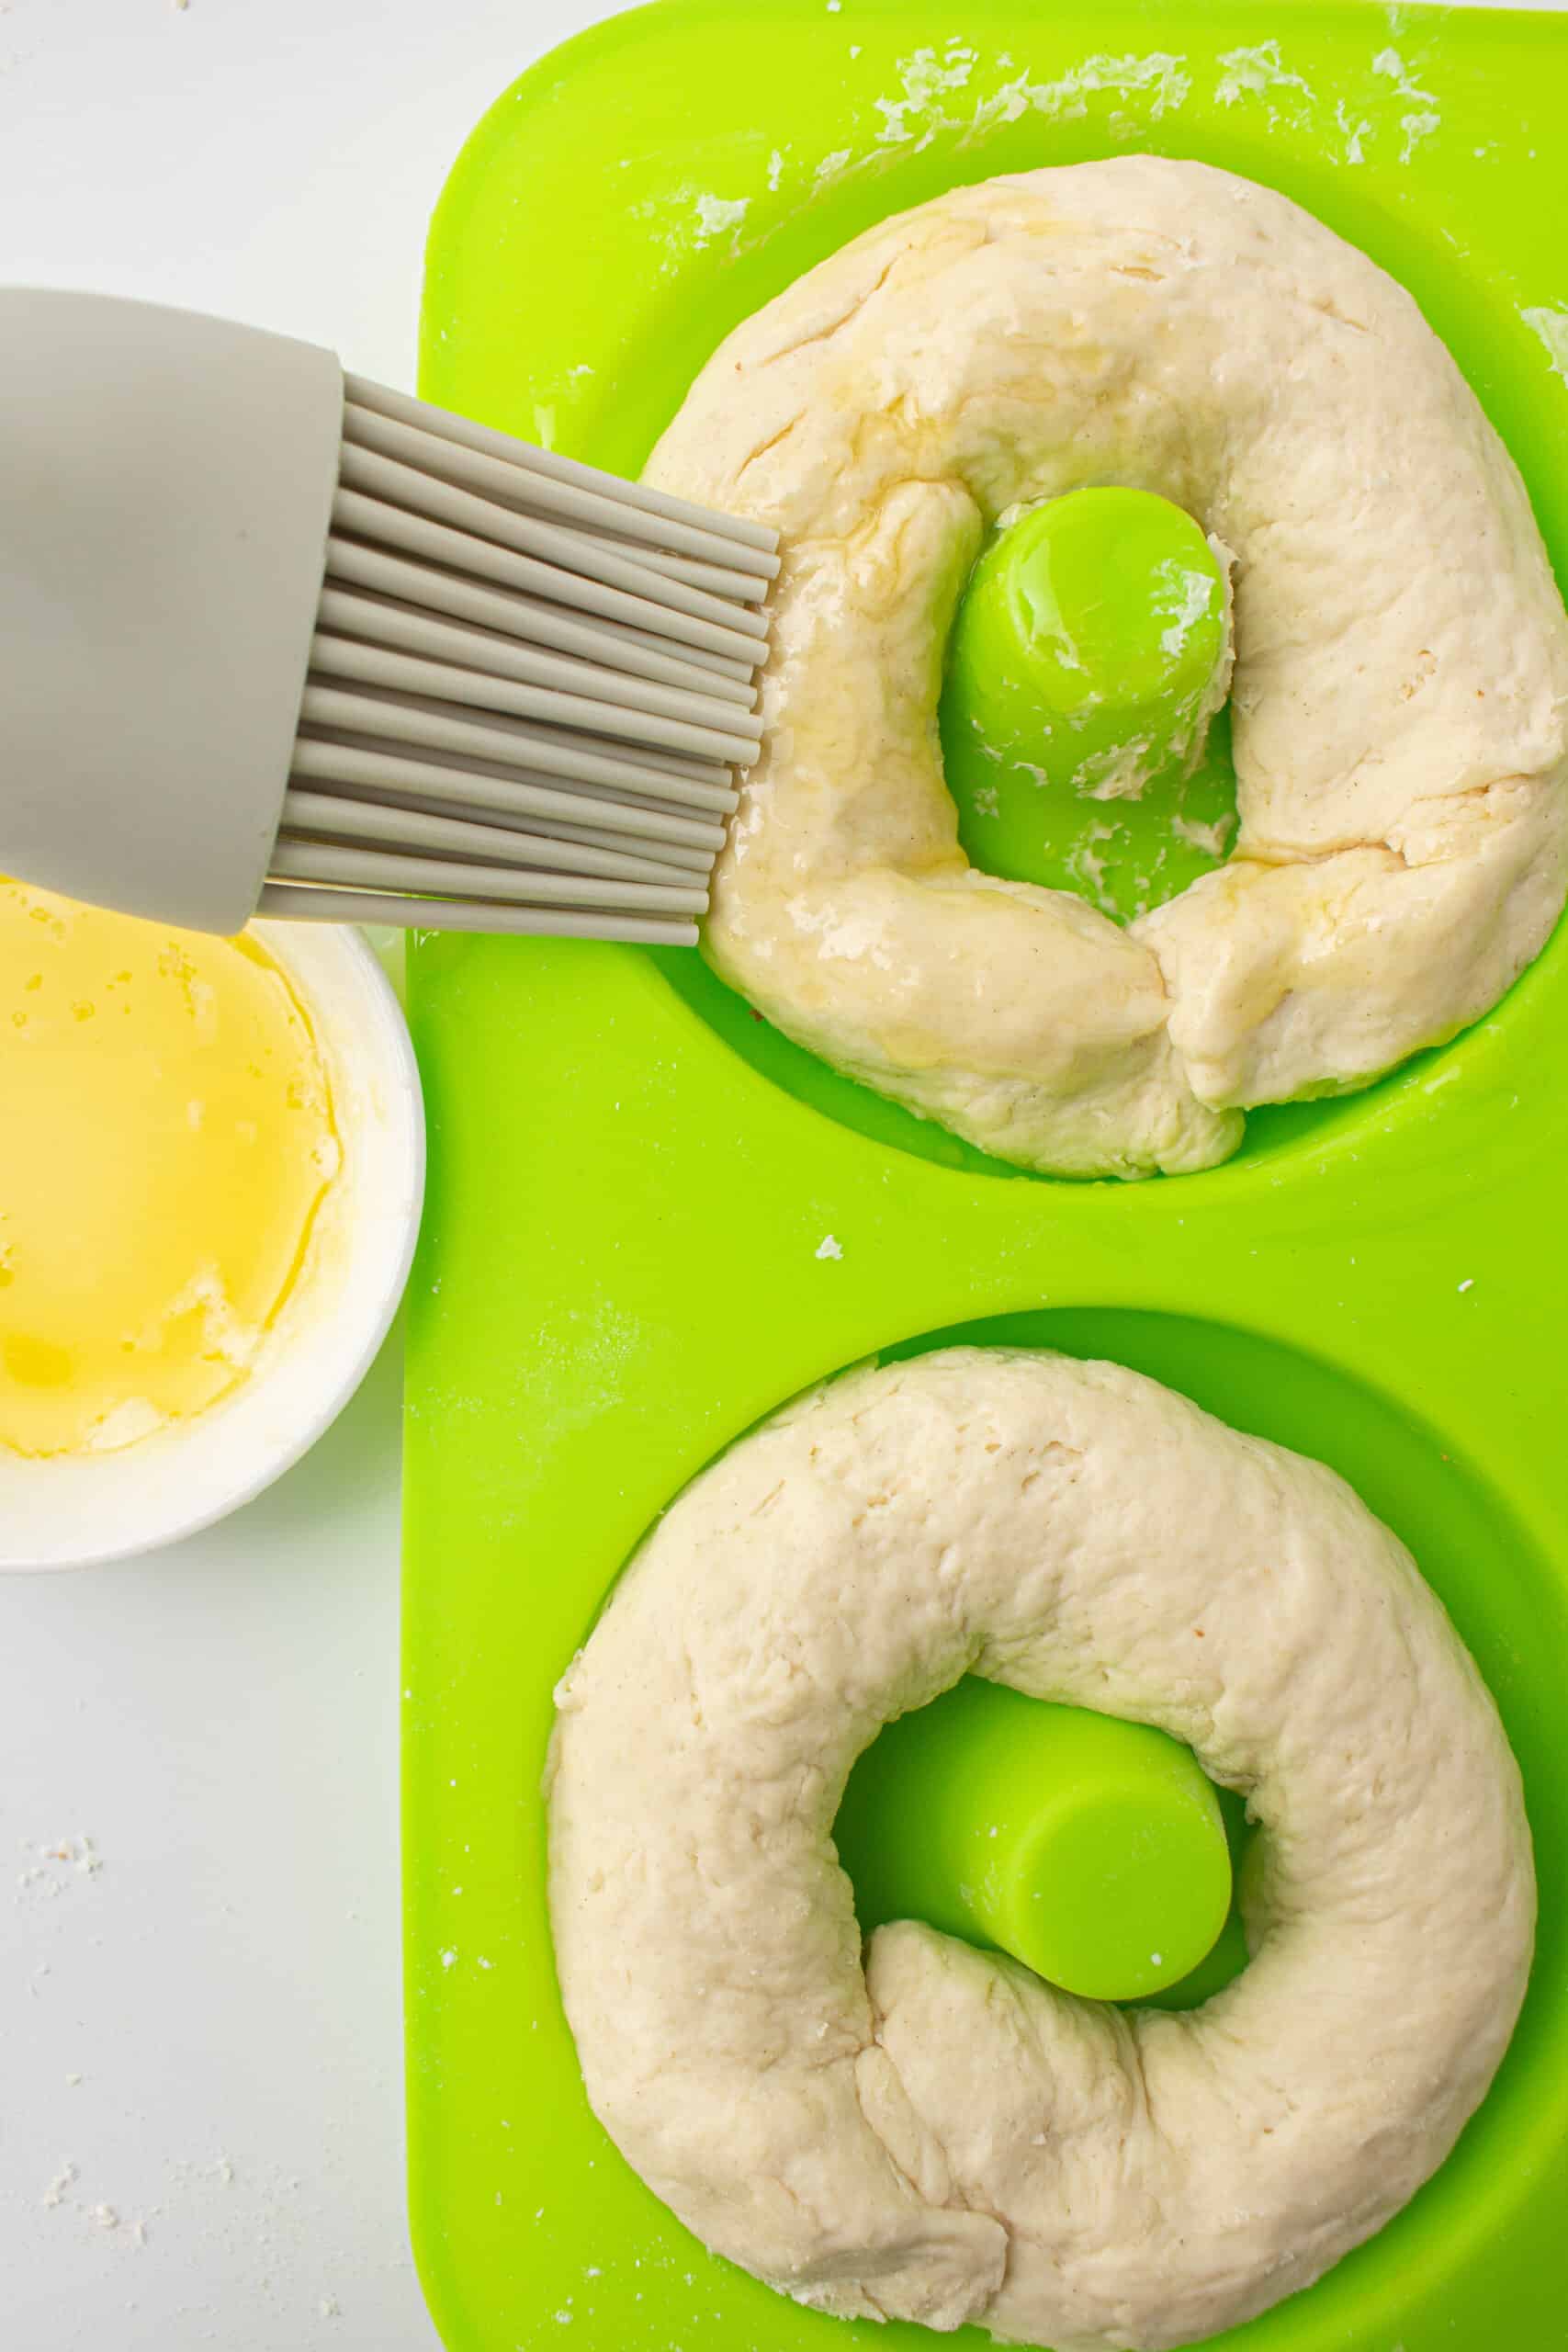
Roll the dough balls into lines and place each one in the donut tray.
Brush melted butter or egg wash on top of each bagel. Sprinkle your desired seasonings (i.e. Everything Bagel Seasoning)
Put the filled donut tray inside the air fryer and cook for 10-12 minutes or until golden brown.
Half way through remove the bagels, flip them and brush them with more butter and seasonings if desired.
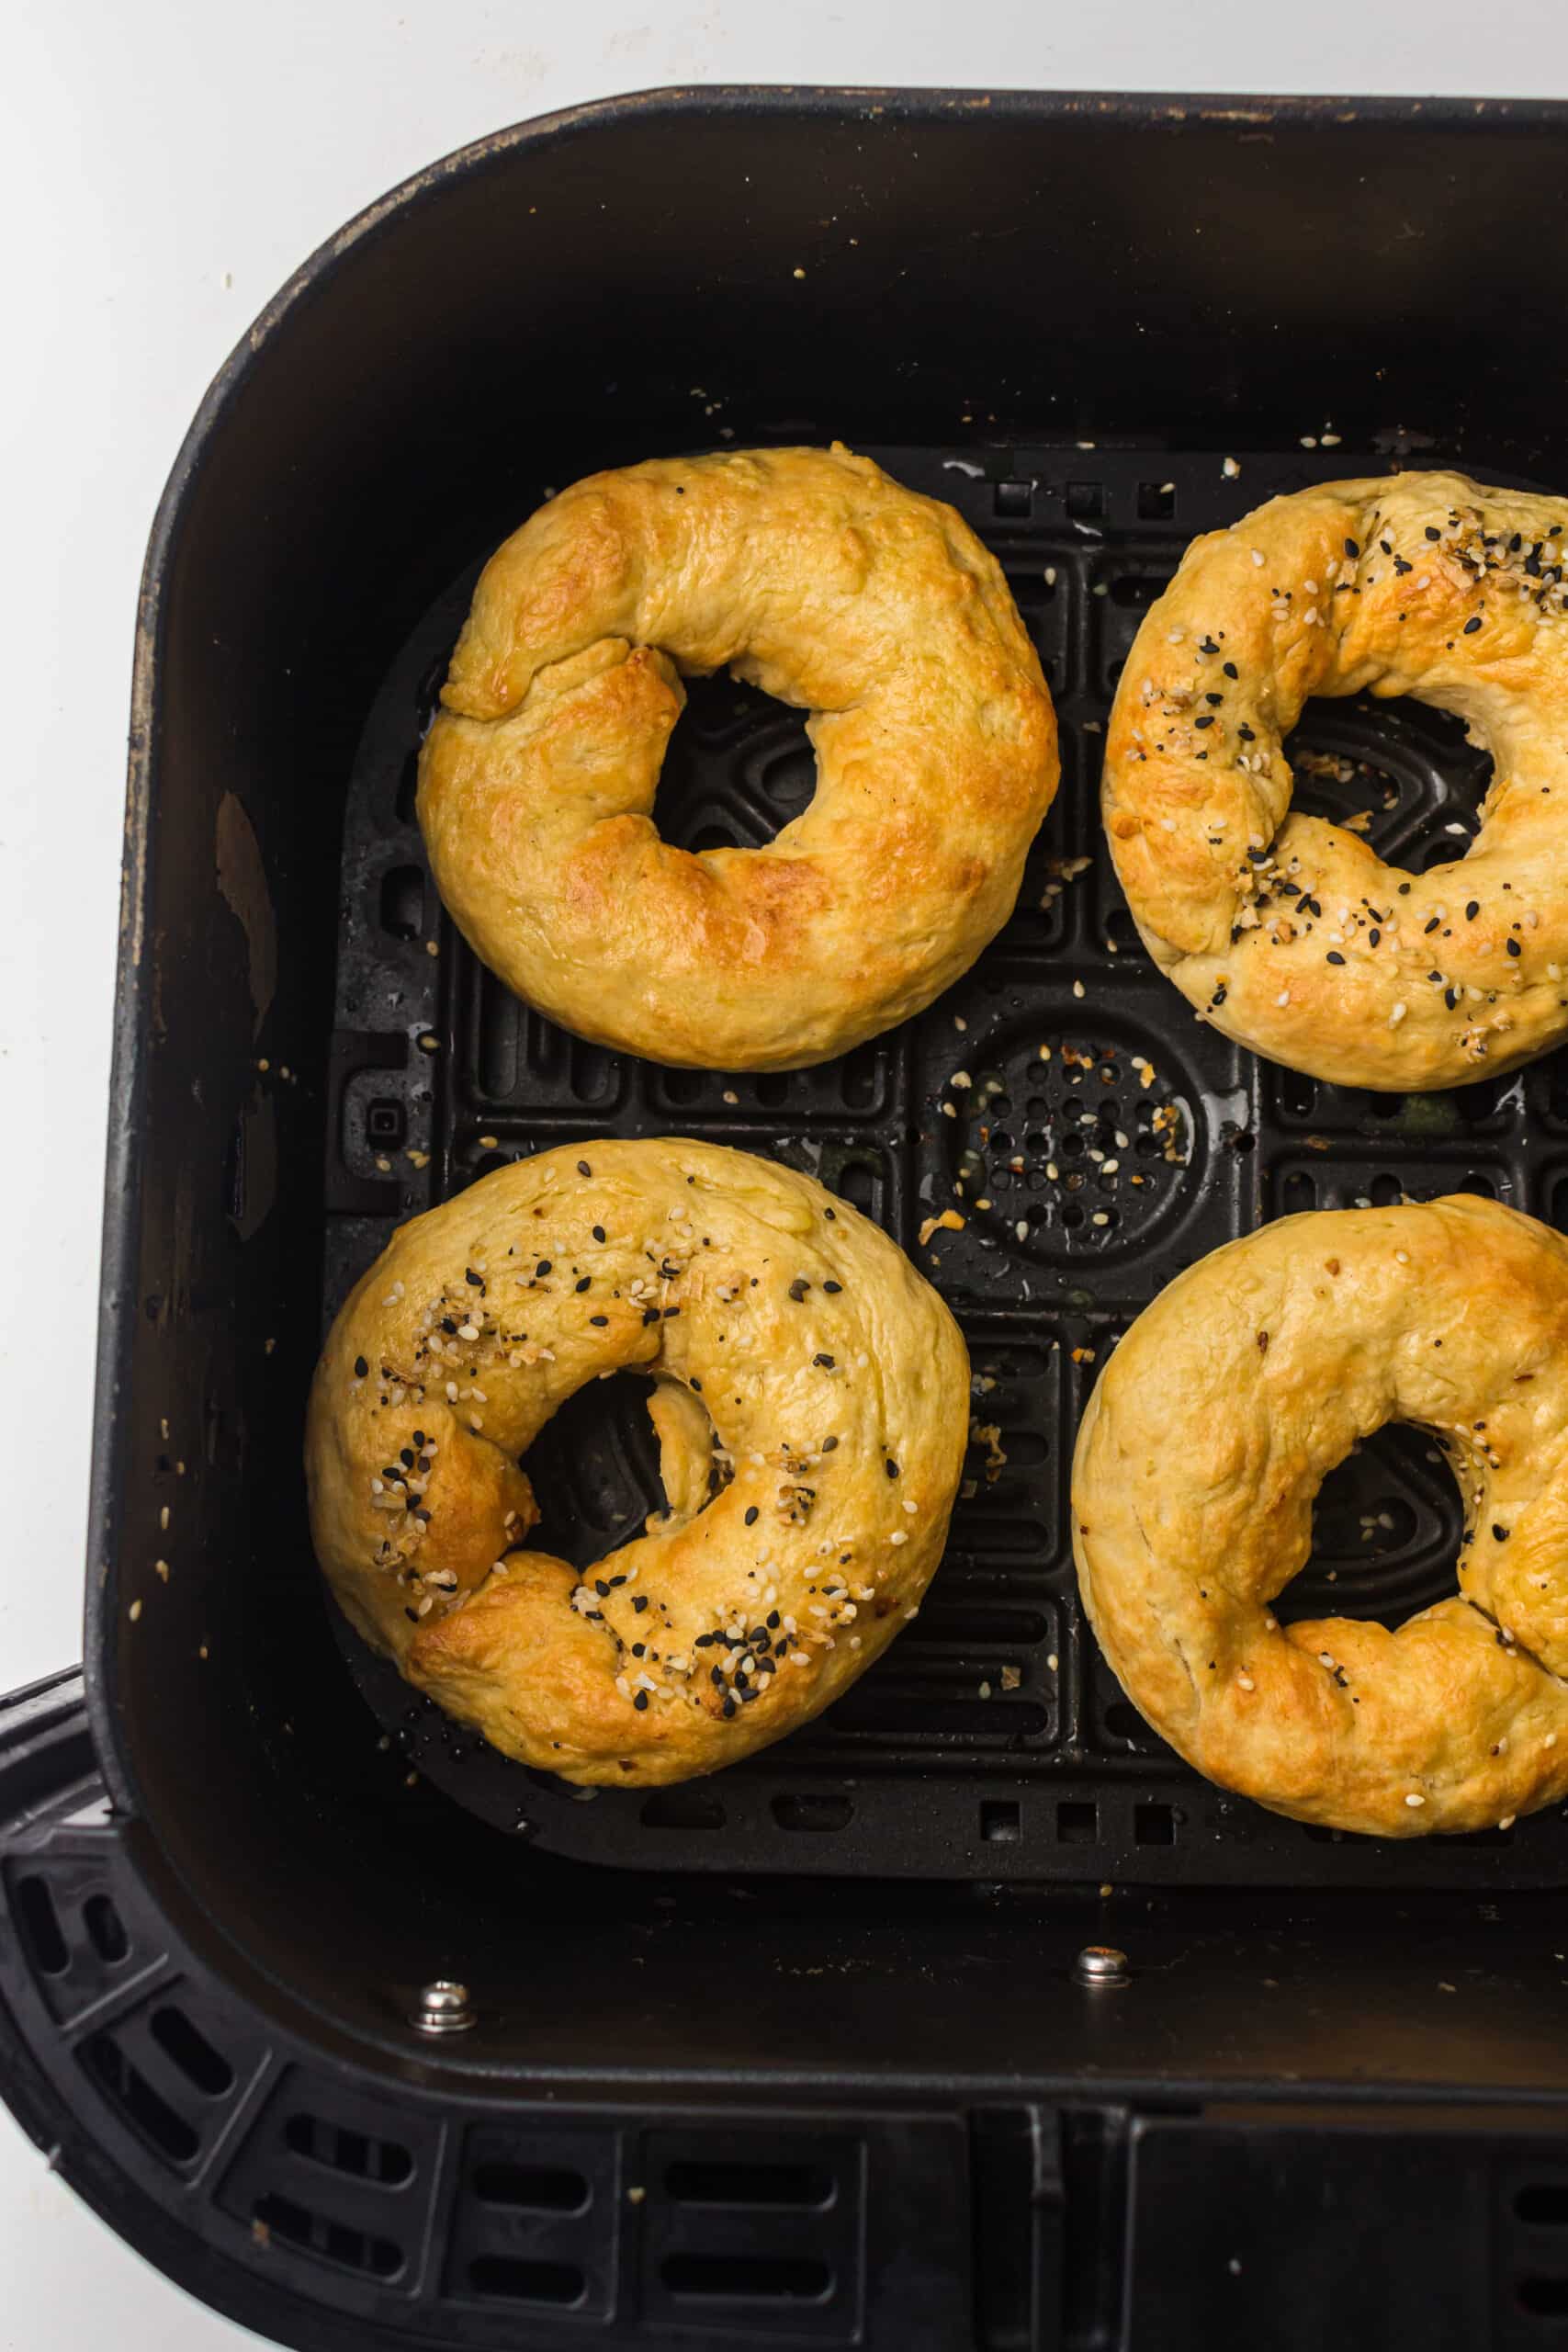
Cook for the remainder time and enjoy!
Recipe Tips & Substitutions
For added flavor or texture, you can sprinkle some sesame seeds onto the top of each bagel before putting them in the air fryer basket/tray if desired!
You could add some spices such as garlic powder or onion powder for added flavor too! Or if you prefer sweeter flavors then try adding some cinnamon sugar mixture before cooking!
If you don’t have Greek yogurt on hand then you can use any type of unsweetened dairy product instead — regular yogurt works well too but may need more flour added in order to get the same consistency as when using Greek yogurt so just keep an eye on how much more flour you need to add until dough forms properly without getting stuck all over your hands!
Additionally, if you’re looking to substitute out the self raising flour then get the all purpose flour add 1.5 tsp baking powder and ½ tsp salt.
FAQs
Yes! Allow cooked Air Fryer Bagels to cool completely before placing into freezer safe storage bags or containers and then freeze up to 3 months for best results when reheating – just make sure temperature does not drop below 0°F (-18°C).
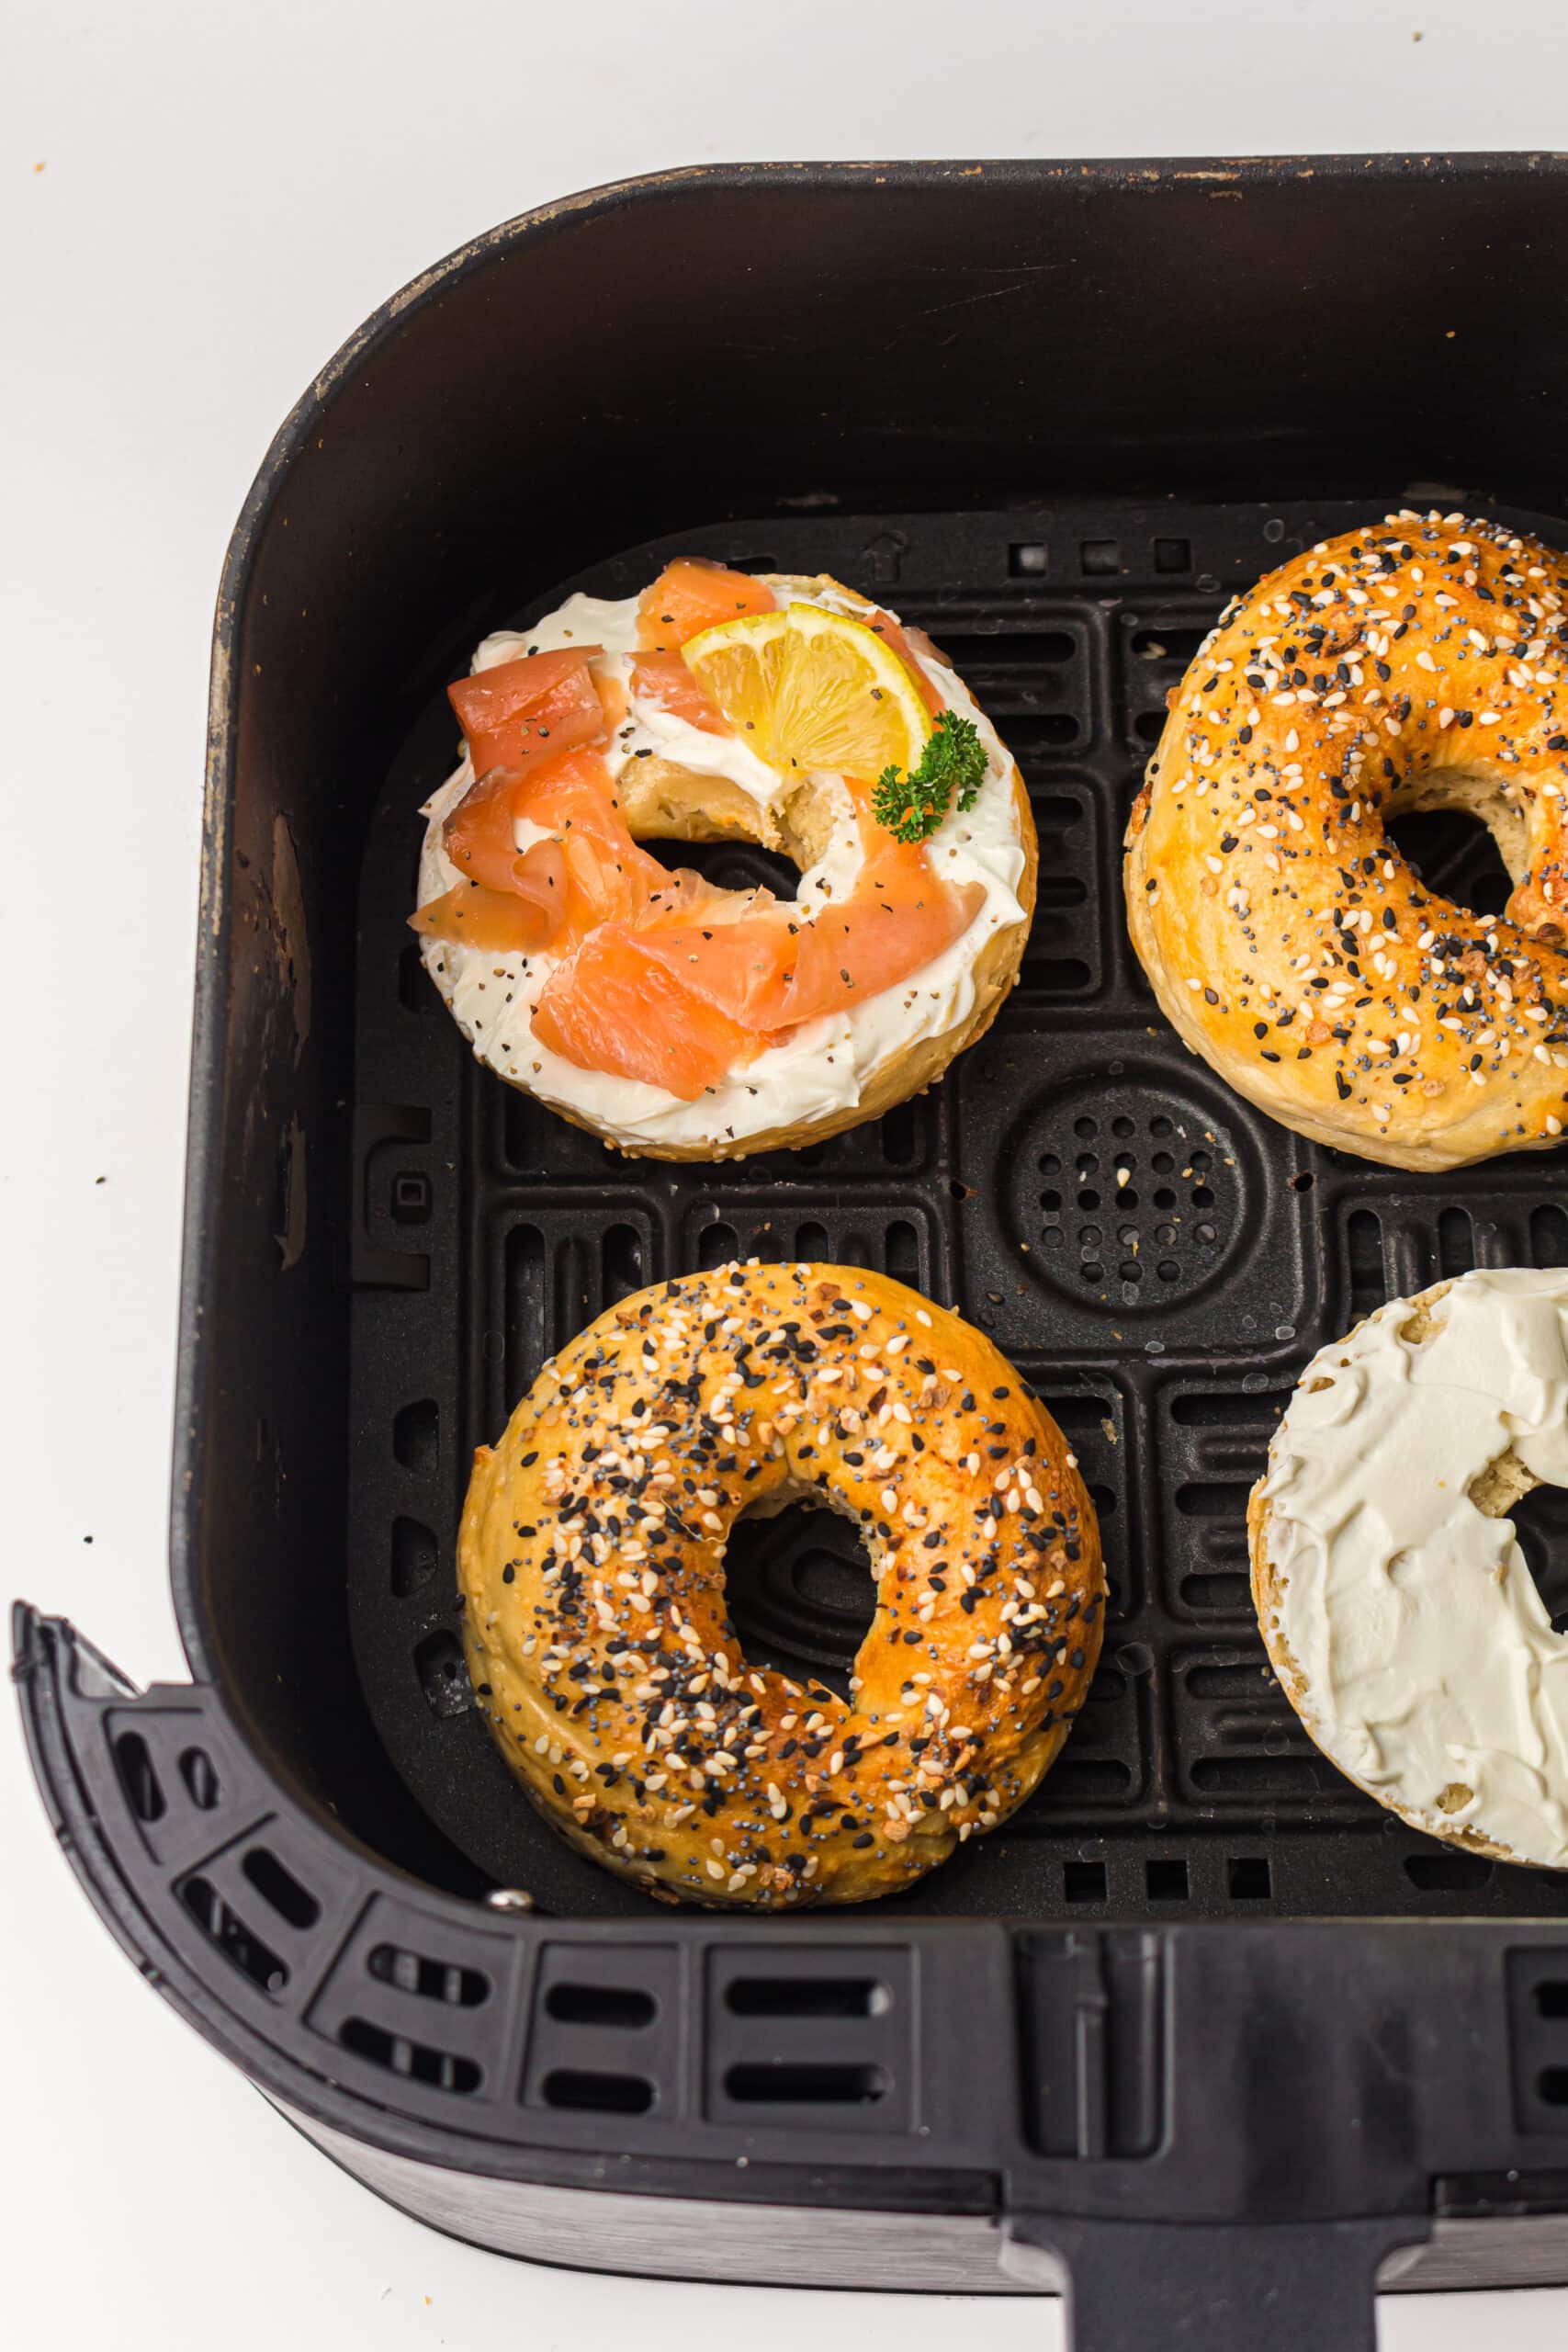
Absolutely! You can combine the classic everything bagel topping with salmon before air frying. Simply season the salmon fillet with salt and pepper, brush melted butter onto each side, and then sprinkle on the everything bagel topping. Place into your preheated air fryer basket, set to 375°F (190°C) and cook for 8-10 minutes, depending on the size and thickness of the salmon.
Yes, you can make gluten free air fryer bagels! Simply substitute out the self-rising flour for a gluten-free alternative such as almond or coconut flour and add 1.5 tsp of baking powder to the mix. Just keep an eye on how much more/less liquid and/or flour is needed in order to get the desired dough consistency.
Yup! You can use the everything bagel seasoning to give your tortilla wrapped cream cheese an extra special touch. Simply spread softened cream cheese over a large flour tortilla, sprinkle on the everything bagel seasoning and roll up tightly like a burrito. Place into your preheated air fryer basket, set to 375°F (190°C) and cook for 8-10 minutes until golden brown and crisp.
Each bagel will have approximately 236 calories depending on size and toppings used, but generally 1 bagel should come close to this estimate since they are quite small compared to traditional oven baked versions which usually weigh more due to additional butter/oils used during baking process etcetera.
Yes, in comparison to traditional oven-baked versions – air fryer bagels are much lower in fat, calories and have less saturated fat due to the lack of additional butter/oils used during baking process. Therefore, if you’re after a healthier version – air fried bagels may be for you!
Yes, absolutely! Just roll the dough into a ball and place onto a lightly greased baking sheet. Bake in an preheated oven at 350°F (175°C) for 15-20 minutes or until golden brown.
No, you can brush your desired toppings onto the top of each bagel instead of using melted butter. However, if you do choose to use melted butter then it adds an extra layer of flavor and moisture which enhances the overall taste and texture of each bagel – so we definitely recommend it!
If you prefer sweeter flavors then try adding some cinnamon sugar mixture before cooking. Alternatively, you can also brush melted butter onto the top of each bagel and sprinkle with desired toppings such as sesame seeds, poppyseeds or even chocolate chips for an extra special touch – the possibilities are endless 🙂
You can get creative and experiment with different flavors such as herbs, garlic, onion or even cheeses – the possibilities are endless! For an extra special touch, you could also brush melted butter onto the top of each bagel before cooking and sprinkle with desired toppings such as sesame seeds, poppyseeds or chocolate chips.
Yes, you can still make delicious bagels without an air fryer. Simply roll the dough into a ball and place onto a lightly greased baking sheet. Bake in preheated oven at 350°F (175°C) for 15-20 minutes or until golden brown. Enjoy!
Air Fryer Bagels are great for more than just breakfast – they’re perfect for lunchtime sandwiches, snacks on the go, or even as appetizers when entertaining guests. Get creative and experiment with different toppings and flavor combinations to make them your own! Enjoy!
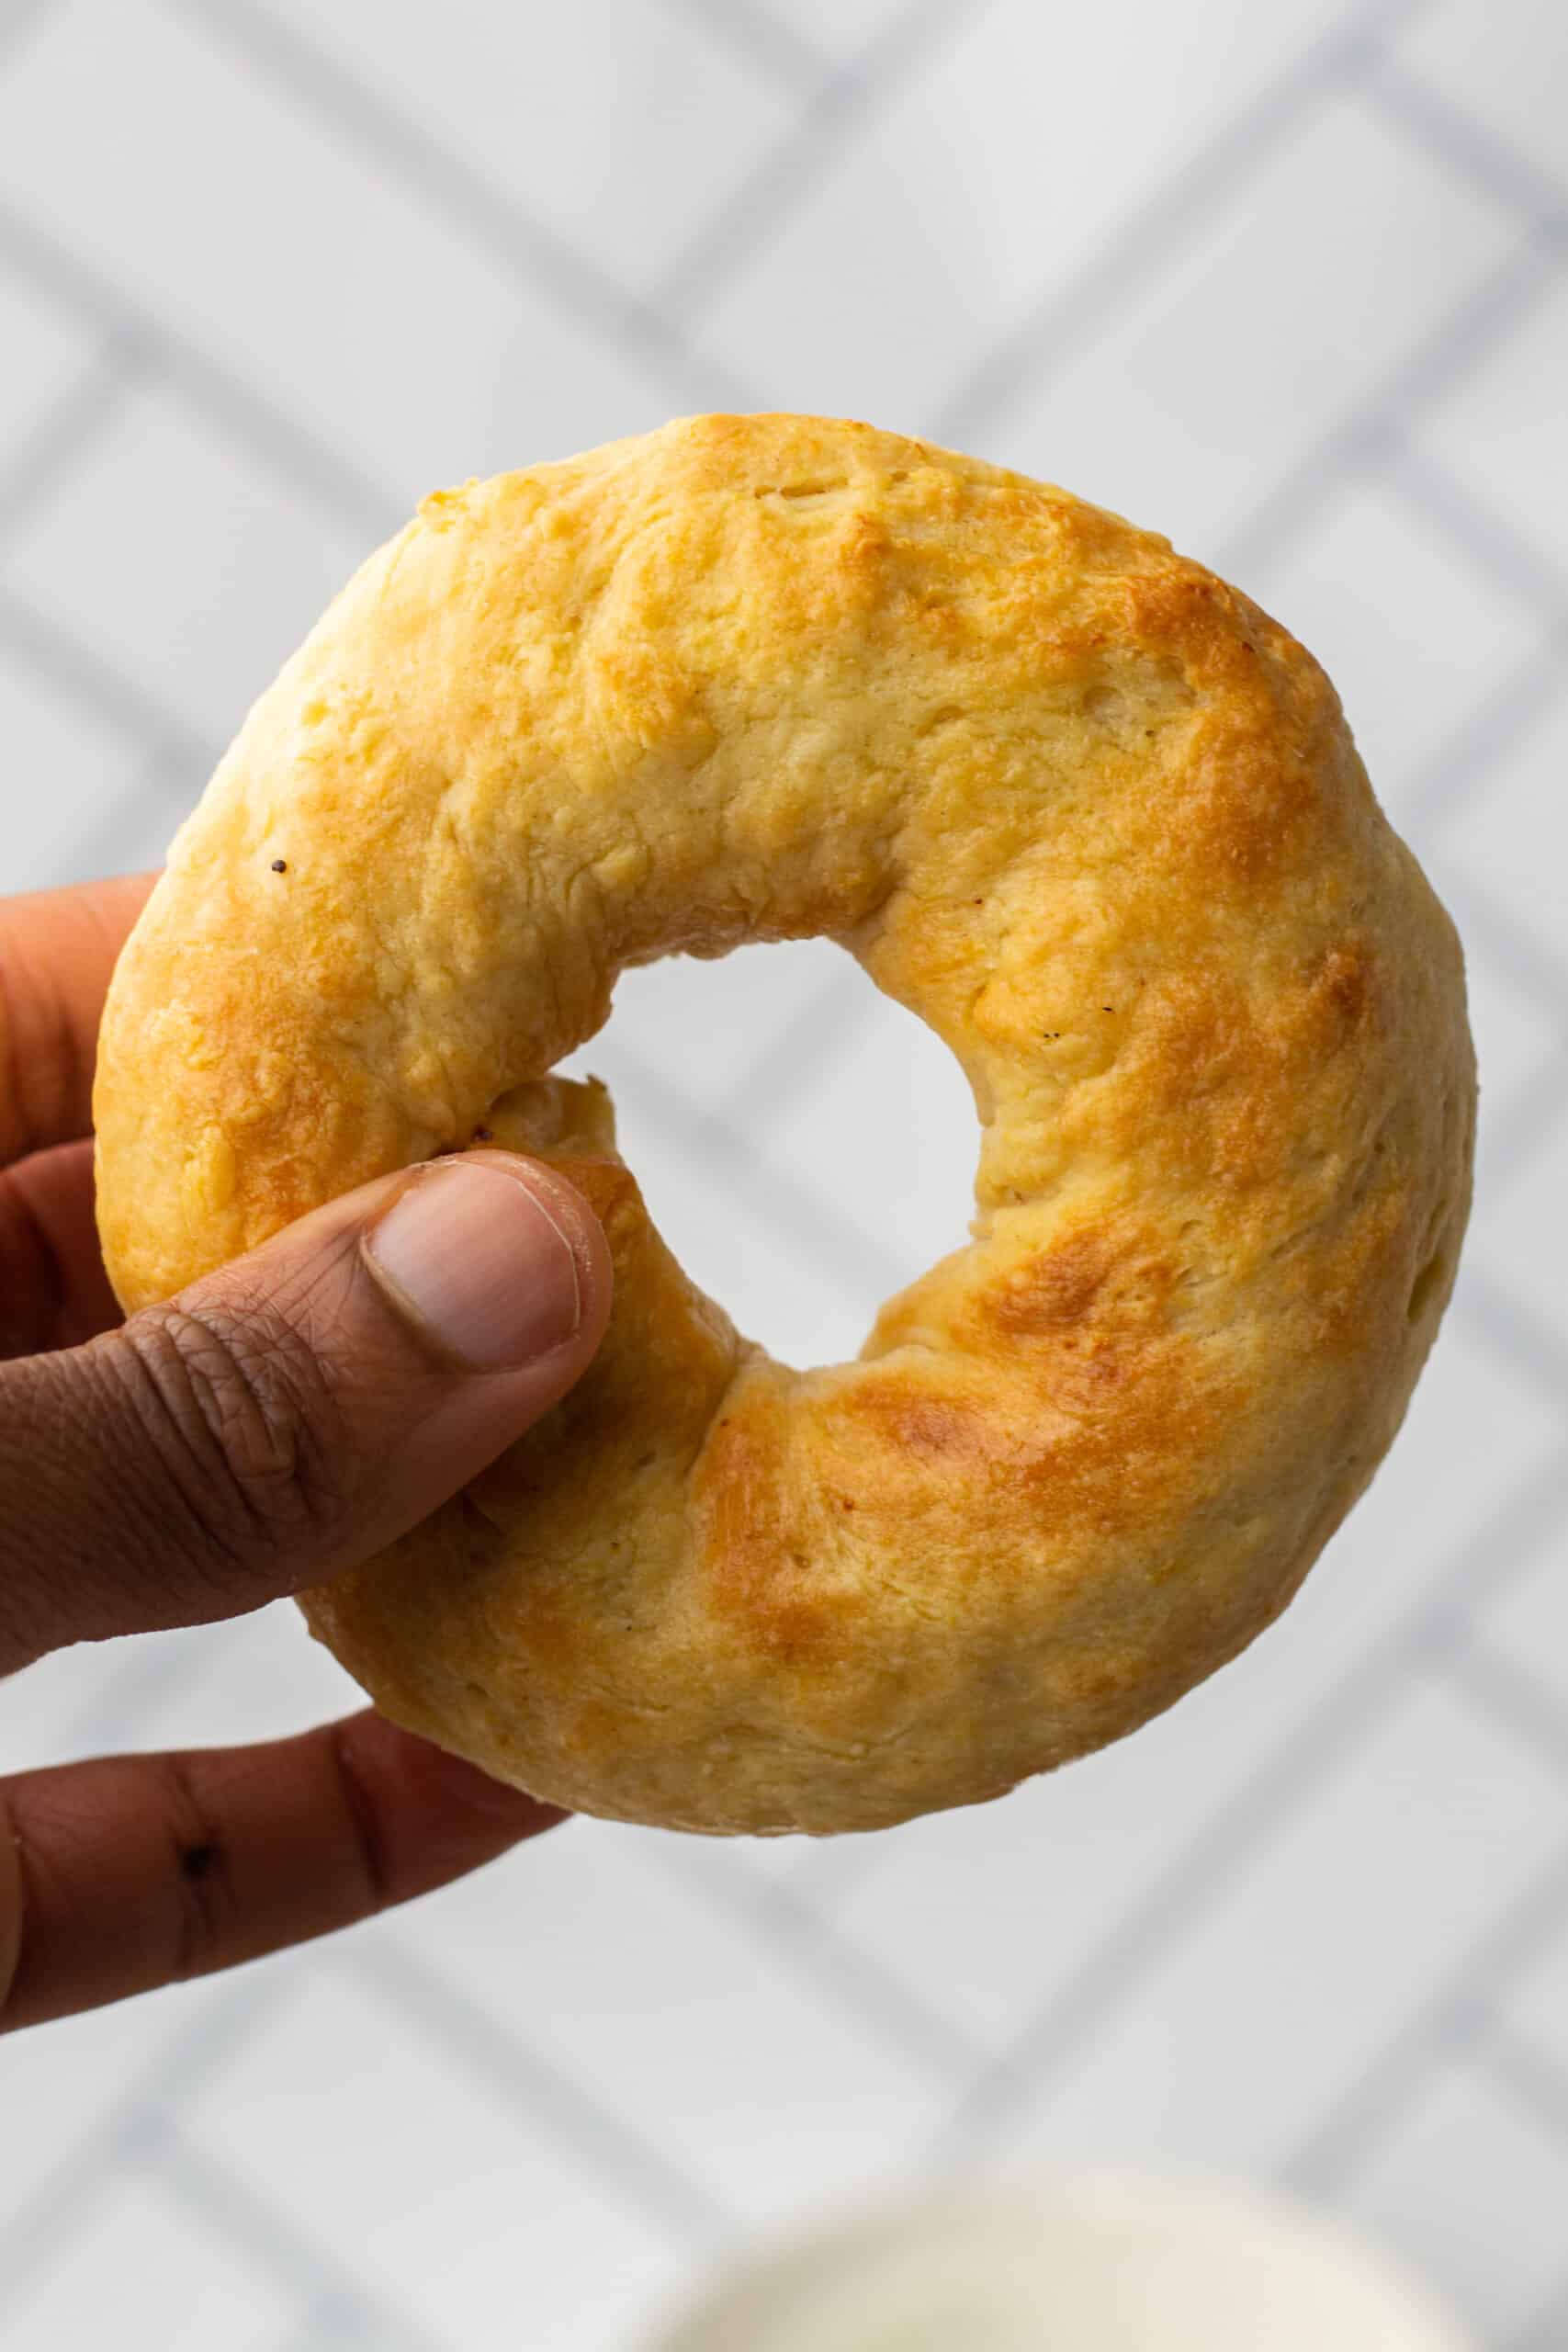
Whether you’re looking for something sweet or savory, Air Fryer Bagels are perfect for any occasion! Plus they’re healthier than their traditional oven baked counterparts due to no additional fats needed during cooking time – bonus health points there! Enjoy experimenting with different toppings such as herbs and spices; melted cheese; jam; peanut butter; honey…the possibilities are endless when it comes to making delicious homemade treats like these 🙂
Air Fryer Bagels
Equipment
Ingredients
- 1¾ cup Self-raising flour
- 1 cup Plain Greek yogurt
- 2 tbsp Butter or egg wash
- 2 tbsp Everything bagel seasoning
Instructions
- Preheat your air fryer to 350°F.
- In a mixing bowl, mix together the self-raising flour and Greek yogurt until it forms a dough. It should be soft but not sticky.
- If the dough is too dry, add 1 teaspoon of water at a time until you have reached your desired consistency. If the dough is too wet, add some more flour.
- Knead the dough lightly on a floured surface for 2 minutes and form into 4 balls.
- Roll the dough balls into lines and place each one in the donut tray.
- Brush melted butter on top of each bagel. Sprinkle your desired seasonings (i.e. Everything Bagel Seasoning)
- Put the filled donut tray inside the air fryer and cook for 10-12 minutes or until golden brown.
- Half way through remove the bagels, flip them then brush them with more butter and seasonings if desired.
- Cook for the remainder time and enjoy!
Leave a Reply